Even in normal conditions kitchen floor and wall tiles can quickly become worn, especially those behind sinks and hobs. With the average lifespan of tiles being as low as 3 years in some cases, it's no surprise that their replacement is such a common job. Unfortunately, it can also be a costly one.
It’s for this precise reason painting has become such a popular alternative. Beyond simply being a far cheaper solution, it takes far less time and, for the DIYer, is much more approachable. Whilst it may not offer quite the ‘good as new’ finish that new tile would, with a specialist paint it will still provide a stunning finish for years – so long as you take care to avoid ‘high risk’ areas subject to a lot of water.
What Do I Need?
The good news is much of what you need you may have already and that which you don’t can be bought for a relatively small cost. Below are all the basic materials:
- 2-4in Brush
- Roller & tray (if covering a large area)
- Sandpaper
- Painter’s tape
- Tile cleaner
- Sponge & sourer
- Primer & tile paint
- Tile grout
Step-by-Step

Step 1: Clear & Clean Your Work Area
Whether it’s a small or big kitchen and regardless of if you are painting wall or floor tiles, you’ll need to first move any objects that may get in your way. Including appliances, decorations and storage.
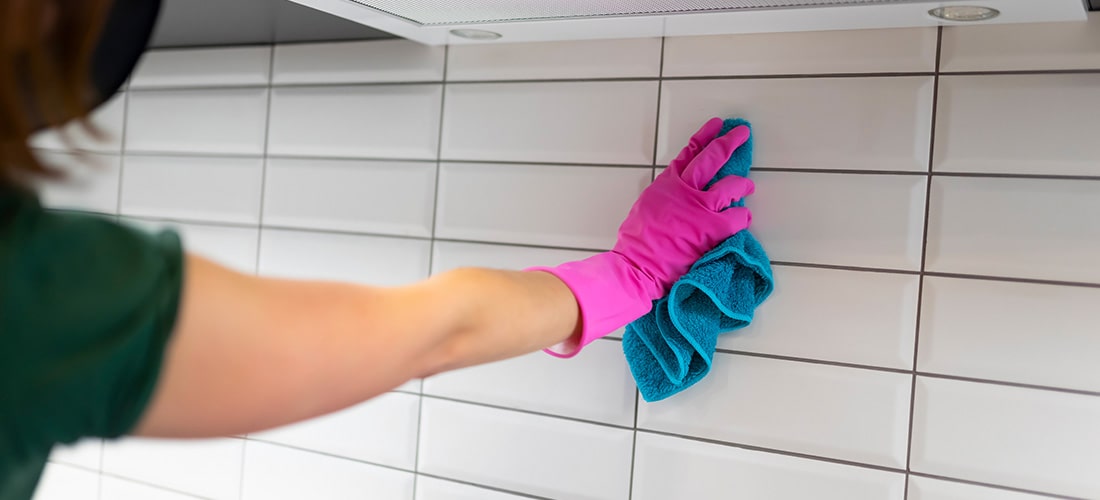
The tiles themselves also need a good clean to remove any surface dirt or grime that may make it more difficult for the paint to adhere.
Store-bought kitchen or bathroom cleaner should be plenty sufficient for the job, just remember to scrub the tiles down with an abrasive sponge or stiff-bristled brush and wipe clean with warm water.
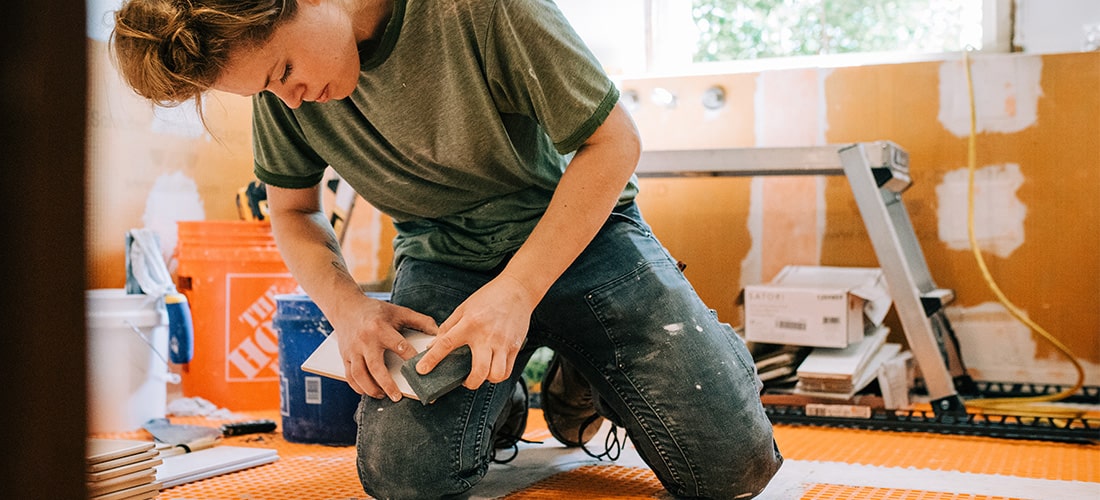
Step 2: Repair Any Damage
The final step of preparation and the most important. Sanding down your tiles serves to remove some of the glazed surfaces that would otherwise prevent paint adhesion.
Considering you are working with tiles it’s important to only use sandpaper with a fine grit (around 120 – 220) to ensure a smoother finish. A hand sander would certainly speed up this process, though by no means is necessary. Just remember to vacuum up any dust afterwards to keep the area clean and ready for painting.
Step 3: Sand Your Tiles
The final step of preparation and the most important. Sanding down your tiles serves to remove some of the glazed surfaces that would otherwise prevent paint adhesion. Considering you are working with tiles it’s important to only use sandpaper with a fine grit (around 120 – 220) to ensure a smoother finish. A hand sander would certainly speed up this process, though by no means is necessary. Just remember to vacuum up any dust afterwards to keep the area clean and ready for painting.
Step 4: Apply Primer
After applying your painter’s tape around any edge where the tiles meet with another surface and laying down some dust sheets to catch stray drops of paint, we suggest applying a layer of primer.
Whilst this isn’t essential it will help improve your tiles retention, leading to a finish that is hardier and far longer lasting. Keep in mind that different primers will be suitable for different surfaces and can have quite a variety of drying times.
Some will be more suitable for gloss surfaces than others and some may even need you to wait a full 24 hours before applying the next coat. Make sure to research this beforehand and buy a primer that suits your timeline.
Step 5: Apply Your Paint
Thanks to all the prep work you’ve done, this step should be relatively quick and straightforward. You can use your brush or roller to tackle the tiles, depending on the size of the area but the important thing to remember is to apply thin layers.
Thick layers are far more likely to leave bumps behind, which can later tear or peel. It may take longer but multiple thin coats will ensure the paint lasts as long as possible
Whilst doable, avoiding the grout lines will be incredibly painstaking. It is far better to use a smaller brush to work into the lines. If they are old or dirty, this will keep them a uniform colour which can later be touched up (or changed entirely) if you feel the need.
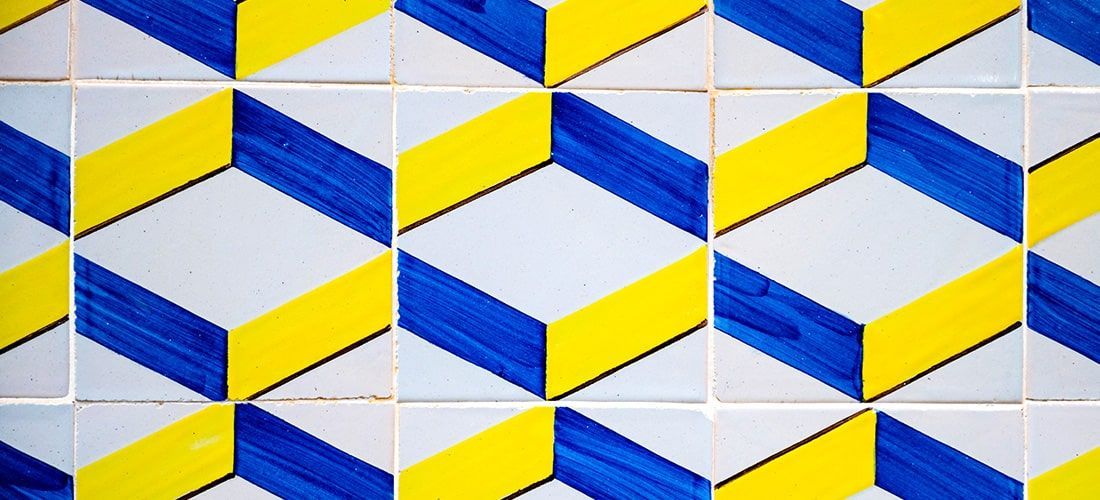
Working with Patterns
Whilst many will opt for a plain colour, there is absolutely no reason you can’t spruce up your kitchen with a pattern. Even adding some colour to a splashback to make it a feature can add tremendous depth to a room and make it livelier as well. For the non-artists out there, this is still more than approachable with countless stencils available online to make the job a quick one.
Step 6: Touching Up Grout Lines
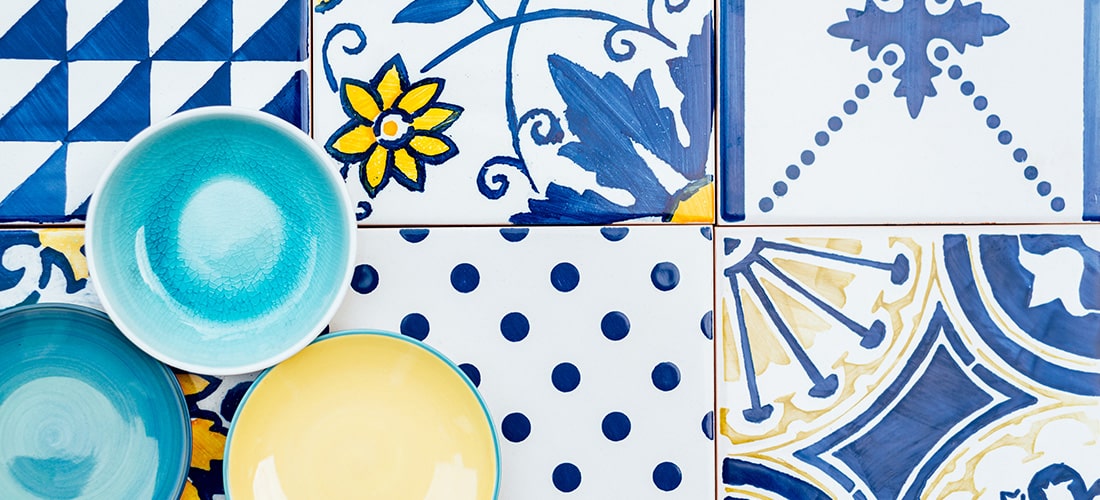
If you want your wall tiles to pop, adding contrasting grout is the perfect solution. Grey grout on white wall tiles is particularly popular for kitchens and can be achieved with relative ease using a grout pen.
These tools work remarkably similarly to marker pens – simply shake the pen, apply light pressure and work the colour across each line of grout. Take care to keep a damp cloth on hand, however, to wipe away any stray marks on your tiles.
Of course, your other option is to have the grout removed and the tiles re-grouted. This is certainly the better choice if you are aiming for longevity though will cost you more in both time and money. Naturally, you could hire a professional to do this job for you, though that will run you (on average) around £15 per meter squared.
Protecting Your Tiles Finish
The most important thing to keep in mind with painted tiles is that they, whilst stunning to look at, will be more vulnerable to water than the original glazing. They can be made more durable with a clear topcoat applied once the paint has cured but still should not be cleaned with any abrasive cleaners. Instead, use a soft cloth or sponge.